Gossen Metrawatt METRAWIN 90-F
Calibrator software for F5500A / F5520A
Order #: METRAWIN 90-F
Mfg #: Z211C
Special Price
$3,902.57
Regular Price
$3,902.58
Gossen Metrawatt METRAWIN 90-F
Calibrator software for F5500A / F5520A
Order #: METRAWIN 90-F
Mfg #: Z211C
Special Price
$3,902.57
Regular Price
$3,902.58
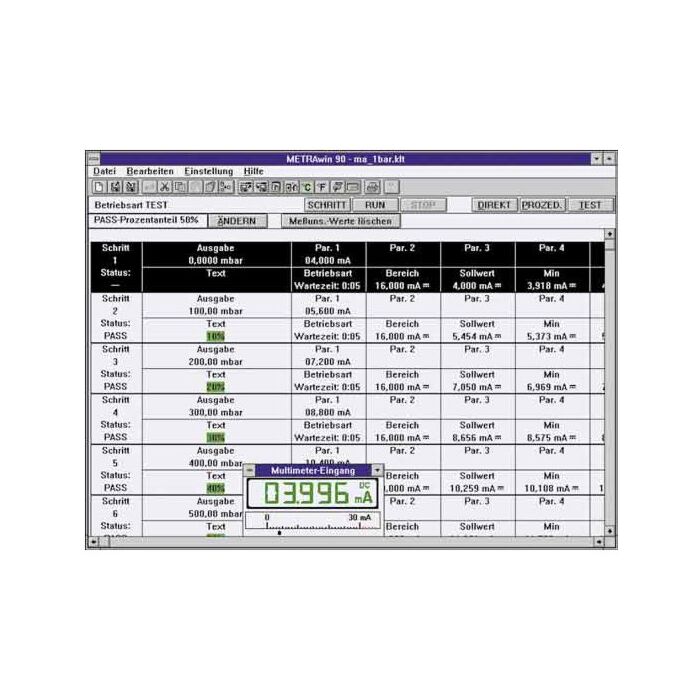
With METRAwin90-F, a PC with IEEE 488 interface and a calibrator, the Fluke 5500A, 5520A or 5700A can be combined into a universal, professional, automated closed loop calibration system for METRAHit series multimeters.
However, it is also suitable for universal use for the calibration of analog and digital multimeters, recorders, power meters, power measuring transducers, amplifier modules, transducers etc.
Calibration procedures are generated by means of METRAwin90-F. Analog setpoint values are transmitted to the calibrator from the PC with IEEE 488 interface, and are fed to the device to be calibrated from the calibrator's analog output. A BD232 adapter is connected to the PC by means of an RS 232 cable in order to allow for automatic transmission of measurement results from the METRAHit multimeter to the PC. In the case of measuring transducers, the analog output value of the device to be calibrated is measured by a METRAHit multimeter and fed back to the PC for evaluation via the interface. If the measurement results lie within prescribed tolerances, each subsequent calibration step is generated automatically, until the entire procedure has been executed step by step.
Availability: Ships in 4-6 weeks
Product Highlights
- Automated calibration of METRAHit ..S / ..M / ..A series handheld multimeters with infrared interface
- New: Adjustment of METRAHit 22-29S /M handheld multimeters via RS 232 interface
- Simple and quick generation, testing and documentation of calibration procedures
- Uncomplicated operation: even semiskilled workers can execute qualified calibration tasks
- Outstanding applications flexibility with calibration signal fed by means of key entry or via the interface
- Documentation can be printed out as standard calibration report, or as a user-specific certificate
- Dynamic data exchange with Microsoft Excel and Word
- Documentation includes all entries required for certificates in accordance with EN ISO 9000
- "Determination of measuring uncertainty" in accordance with DKD-3 after a specified number of measurements
- Specification of calculated measuring uncertainty in accordance with DKD-3 or TUR (test uncertainty ratio) included in the report
All products in this series